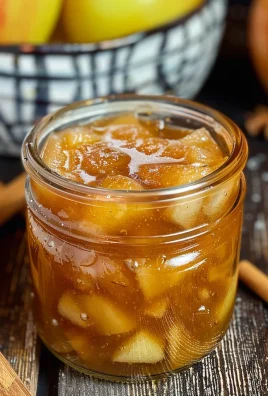
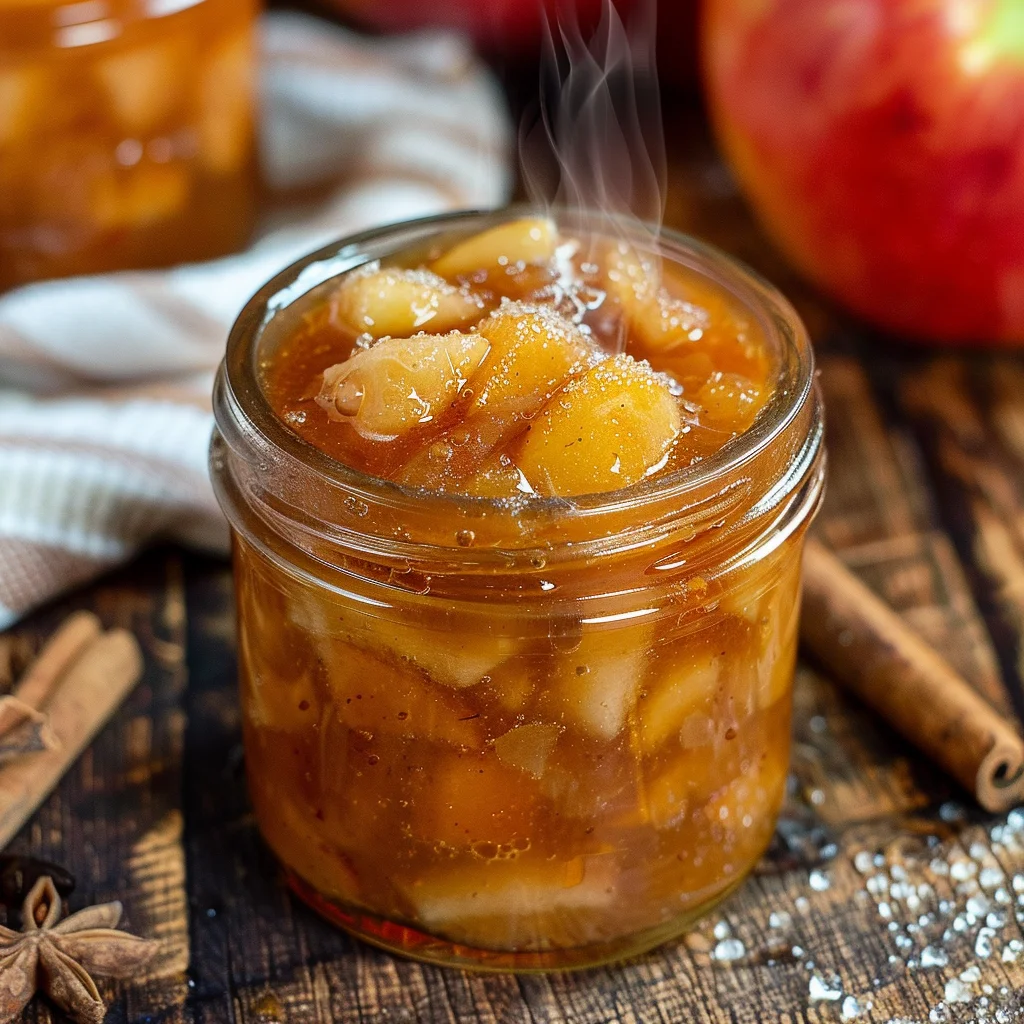
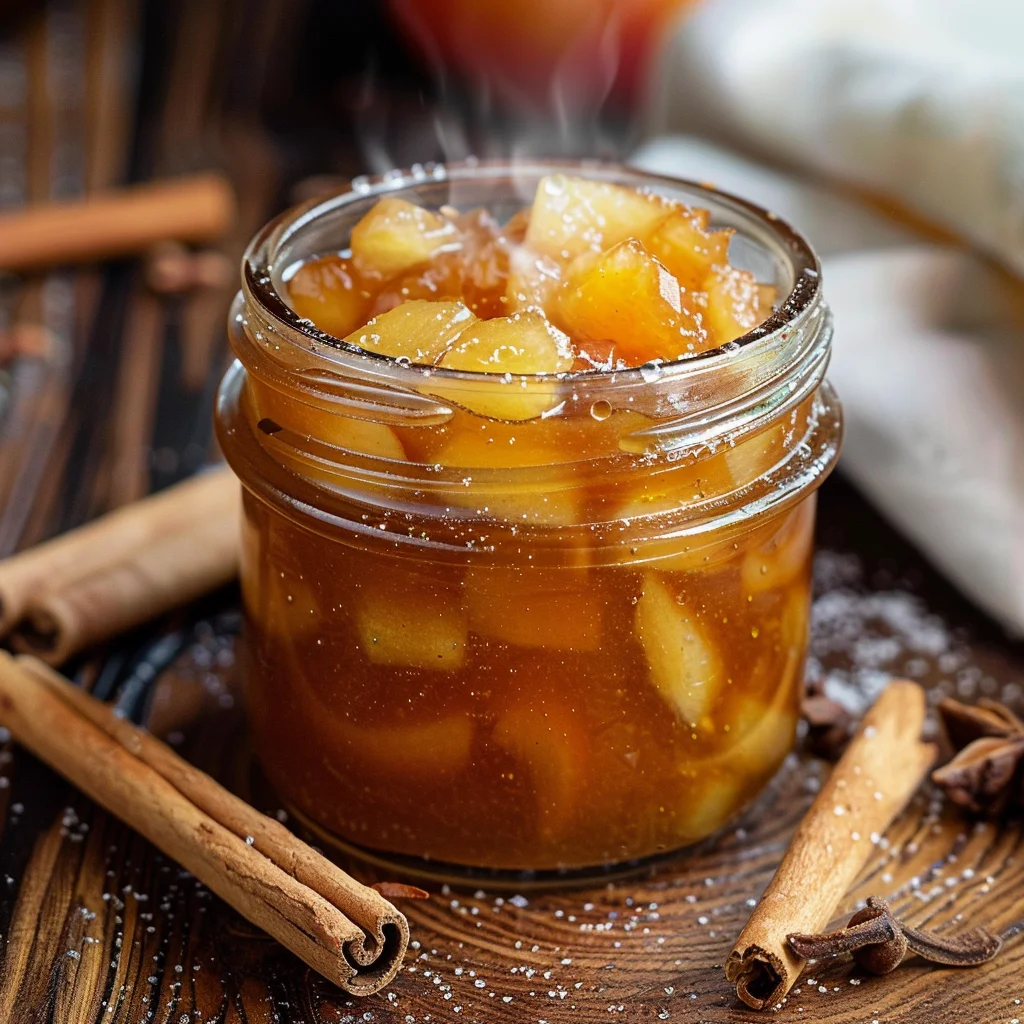
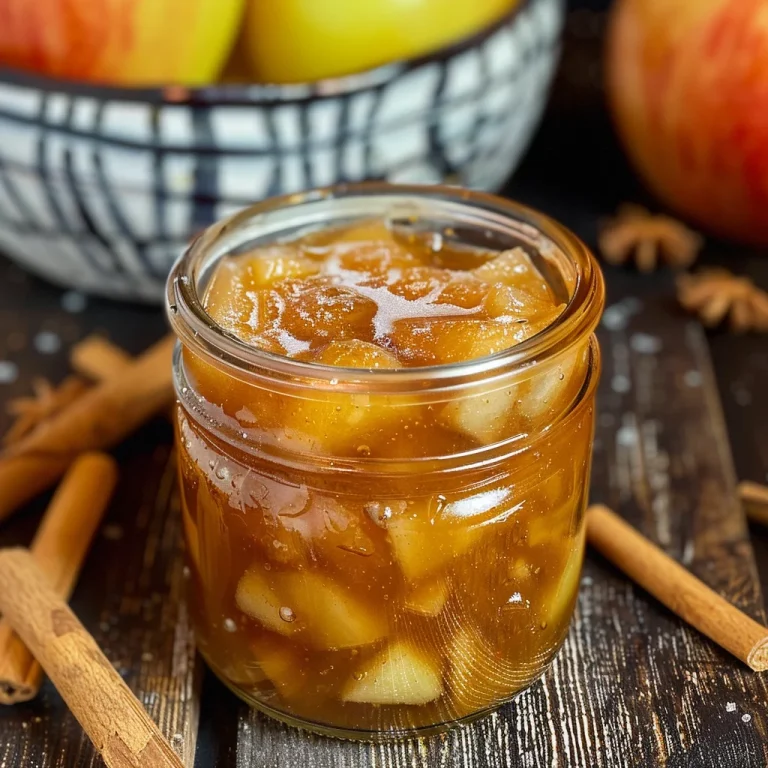
If you’re looking for a delightful treat to brighten your day, this Apple Pie Jam {for canning} is just what you need! It’s like capturing the essence of autumn in a jar. The sweet and spiced aroma fills your kitchen, making it perfect for cozy family gatherings or even a quick breakfast on busy mornings. Trust me, once you spread this luscious jam on toast or mix it into your favorite desserts, it will quickly become a treasured recipe in your home.
Whether you’re an experienced canner or trying it out for the first time, this jam is straightforward and rewarding. You’ll love how easy it is to create such a delicious condiment that everyone will adore!
Why You’ll Love This Recipe
- Easy to make: With just a few simple steps, you’ll have jars of yummy jam ready to enjoy.
- Perfect for gifting: Share the joy of homemade goodness with friends and family; they’ll appreciate the thoughtful treat!
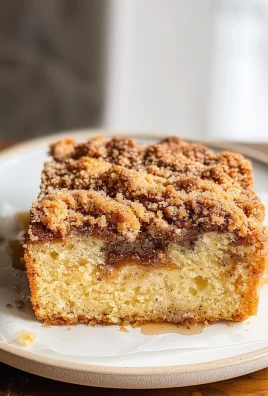
- Versatile use: Spread it on breakfast toast, swirl it into yogurt, or use it as a filling for pastries—endless possibilities!
- Seasonal flavors: This jam brings all the warm spices of apple pie right into your pantry any time of year.
- Canning friendly: Safe for water bath canning, so you can store it and savor that fresh apple taste long after harvest season.
Ingredients You’ll Need
Gathering these simple, wholesome ingredients is half the fun! You probably have most of them in your kitchen already. This Apple Pie Jam {for canning} comes together beautifully with fresh apples and aromatic spices.
For the Jam
- 8 cups peeled and diced apples (about 6 apples) (I recommend using Granny Smith green apples)
- 2 cups apple juice (I recommend using organic)
- 1 small lemon, zest and juice
- 1 tbsp apple cider vinegar
- Pinch of salt
- 3 tbsp pectin
- 1.5 tsp ground cinnamon
- 1/2 tsp ground ginger
- 1/2 tsp ground cardamom
- 1/4 tsp ground cloves
- 1/4 tsp ground nutmeg
- 3 cups white granulated sugar
Variations
This recipe is wonderfully flexible! Feel free to adapt it based on what you have or your taste preferences.
- Add some berries: Toss in some blueberries or raspberries for a fruity twist!
- Make it spicy: Add a dash of cayenne pepper for an unexpected kick that pairs beautifully with sweet flavors.
- Try different apples: Experiment with other apple varieties like Honeycrisp or Fuji for unique flavor profiles.
- Go sugar-free: Use a sugar substitute designed for canning if you’d like to reduce sugar without losing sweetness.
How to Make Apple Pie Jam {for canning}
Step 1: Prepare the Apples
Start by combining your diced apples, apple juice, lemon zest and juice, apple cider vinegar, and a pinch of salt in a large pot over medium-high heat. Bringing this mixture to a boil helps soften the apples quickly while combining all those lovely flavors. After about 10-12 minutes of simmering on low heat, you should see tender apples ready to take on those delightful spices!
Step 2: Spice It Up
Next, sprinkle in those aromatic spices—ground cinnamon, ginger, cardamom, cloves, and nutmeg—and give everything a good stir. As you add the pectin gradually while stirring, it’s essential to mix well so that everything incorporates evenly. Now crank up that heat again until you achieve a full rolling boil. This step ensures that all the ingredients meld perfectly before we sweeten our jam.
Step 3: Sweeten and Boil
Once you’re at that vigorous boil stage that can’t be stirred down, add all the sugar at once. Bring it back to that glorious boiling point while stirring continuously—it’s crucial to prevent scorching! Set a timer for one minute; this short cook time helps develop that signature jammy texture everyone loves while locking in all those cozy flavors.
Step 4: Can or Store
After cooking for one minute, remove the pot from heat. At this point, you can either spoon your delicious jam into jars for immediate refrigeration or follow proper water bath canning instructions if you’d like to preserve them longer. Whichever option you choose, get ready to enjoy the fruits (or jam!) of your labor!
Pro Tips for Making Apple Pie Jam {for canning}
Making Apple Pie Jam is a delightful experience, and these tips will ensure your jam turns out perfectly every time!
-
Choose the right apples: Using Granny Smith apples adds the perfect balance of tartness to your jam, enhancing its flavor profile and keeping it from being overly sweet.
-
Don’t skip the pectin: Pectin is crucial for achieving the right gel consistency. It helps your jam set properly, giving it that desirable spreadable texture.
-
Measure accurately: Being precise with your measurements, especially sugar and pectin, ensures that your jam sets correctly and has the right sweetness.
-
Check for doneness: Use a spoon to test if the jam has thickened by drizzling it back into the pot. If it piles up rather than running off, it’s ready for canning!
-
Seal jars properly: When canning, ensure that you leave appropriate headspace in each jar to allow for expansion during processing, which prevents breakage and ensures a good seal.
How to Serve Apple Pie Jam {for canning}
Apple Pie Jam is not just a treat on its own; it’s versatile enough to enhance various dishes! Here are some creative serving suggestions.
Garnishes
- Whipped coconut cream: A dollop of whipped coconut cream adds a rich, creamy texture that complements the spiced flavors of the jam.
- Chopped nuts: Sprinkle some chopped pecans or walnuts on top of your jam presentation for added crunch and nuttiness.
Side Dishes
- Warm biscuits: Flaky, warm biscuits are perfect for slathering with Apple Pie Jam, creating a comforting breakfast or snack option.
- Cream cheese crackers: Spread a layer of cream cheese on whole grain crackers and top with Apple Pie Jam for a delightful sweet-and-savory appetizer.
- Oatmeal pancakes: Serve Apple Pie Jam as a topping for oatmeal pancakes to create a deliciously unique twist on a breakfast classic.
- Vanilla yogurt: Stir in some Apple Pie Jam into plain vanilla yogurt for an easy and tasty dessert that feels indulgent yet wholesome.
Make Ahead and Storage
This Apple Pie Jam {for canning} is perfect for meal prep, allowing you to enjoy the delightful flavors of fall anytime!
Storing Leftovers
- Store any leftover jam in an airtight container in the refrigerator.
- Consume within 3 weeks for optimal freshness.
- Make sure to let the jam cool completely before sealing.
Freezing
- Transfer cooled jam into freezer-safe containers or bags.
- Leave some space at the top of the container, as the jam will expand when frozen.
- Use within 6 months for the best flavor and quality.
Reheating
- Thaw frozen jam overnight in the refrigerator before use.
- Gently heat on the stove over low heat if you prefer it warm or to soften it for easier spreading.
FAQs
Here are some common questions about making and using Apple Pie Jam {for canning}.
Can I use different types of apples for this Apple Pie Jam {for canning}?
Absolutely! While Granny Smith apples are recommended for their tartness, you can mix in sweeter varieties like Honeycrisp or Fuji for a unique flavor profile.
How long does homemade Apple Pie Jam {for canning} last?
When properly canned and sealed, your Apple Pie Jam can last up to a year on your pantry shelf. Once opened, store it in the fridge and consume within 3 weeks.
Can I adjust the sweetness of my Apple Pie Jam?
Yes, feel free to reduce the amount of sugar to suit your taste. Keep in mind that this may affect the jam’s consistency, so add a bit more pectin if needed!
Final Thoughts
Making your own Apple Pie Jam {for canning} is not just about preserving fruit; it’s about capturing the essence of cozy autumn days in a jar. I hope you find joy in crafting this delicious treat, whether you’re spreading it on toast or gifting it to someone special. Enjoy every sweet moment as you savor this delightful recipe!
Apple Pie Jam for Canning
If you’re looking for a delightful way to capture the flavors of autumn, this Apple Pie Jam for canning is the perfect solution! Bursting with the essence of fresh apples and warm spices, this jam transforms your kitchen into a cozy haven. It’s not only an excellent condiment for breakfast toast but also a versatile ingredient that can elevate desserts and snacks alike. Whether you’re an experienced canner or trying your hand for the first time, this straightforward recipe will leave you with jars full of sweet memories. Enjoy it yourself or share it as a thoughtful gift—this delicious jam is sure to be a favorite!
- Total Time: 30 minutes
- Yield: Approximately 64 servings (about eight half-pint jars) 1x
Ingredients
- 8 cups peeled and diced Granny Smith apples
- 2 cups organic apple juice
- Zest and juice of 1 small lemon
- 1 tbsp apple cider vinegar
- Pinch of salt
- 3 tbsp pectin
- 3 cups white granulated sugar
- 1.5 tsp ground cinnamon
- 0.5 tsp ground ginger
- 0.5 tsp ground cardamom
- 0.25 tsp ground cloves
- 0.25 tsp ground nutmeg
Instructions
- In a large pot over medium-high heat, combine diced apples, apple juice, lemon zest and juice, vinegar, and salt. Bring to a boil.
- Simmer for about 10-12 minutes until apples are tender.
- Stir in spices and gradually add pectin while mixing well.
- Increase heat to achieve a rolling boil; then add sugar all at once.
- Boil for one minute while stirring continuously.
- Remove from heat and either refrigerate immediately or follow water bath canning instructions.
- Prep Time: 15 minutes
- Cook Time: 15 minutes
- Category: Condiment
- Method: Canning
- Cuisine: American
Nutrition
- Serving Size: 1 tablespoon (20g)
- Calories: 50
- Sugar: 12g
- Sodium: 0mg
- Fat: 0g
- Saturated Fat: 0g
- Unsaturated Fat: 0g
- Trans Fat: 0g
- Carbohydrates: 13g
- Fiber: 0g
- Protein: <1g
- Cholesterol: 0mg